Introduction
Want to access your Home Assistant setup from anywhere in the world securely through the mobile app or web browser without fiddling with your router’s settings or worrying about having a static IP address? Home Assistant with Cloudflare Zero Trust configuration is your answer. It’s a secure, hassle-free way to reach your Home Assistant system from any corner of the globe.
Quick Overview
Getting remote access to Home Assistant involves a few steps, but it’s straightforward when you know how. Here’s what we’ll cover:
- Setting up a Cloudflare Zero Trust tunnel
- Installing Cloudflared on your Home Assistant instance
- Optionally tightening application access security
What You Need First
Make sure you’ve got your domain name and have moved your DNS to Cloudflare. We’re starting from there, bypassing traditional hurdles like port forwarding, thanks to Cloudflare’s encrypted tunnels.
Steps to Success:
- A registered domain name through a domain registrar.
- Moved your DNS hosting to Cloudflare.
These steps are crucial as they enable Cloudflare’s Zero Trust configuration to direct traffic securely to your internal network, eliminating the need for traditional port forwarding.
1. Setting up a Cloudflare Zero Trust tunnel
1.1 Get started
Visit CloudFlare website, sign in with your account
(Note: Assumption is you have moved your DNS hosting to Cloudflare, you need to do this!)
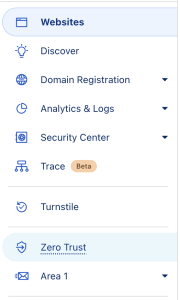
1.2 Navigate to Zero Trust tunnel
Create a zero trust tunnel, choose Add a tunnel

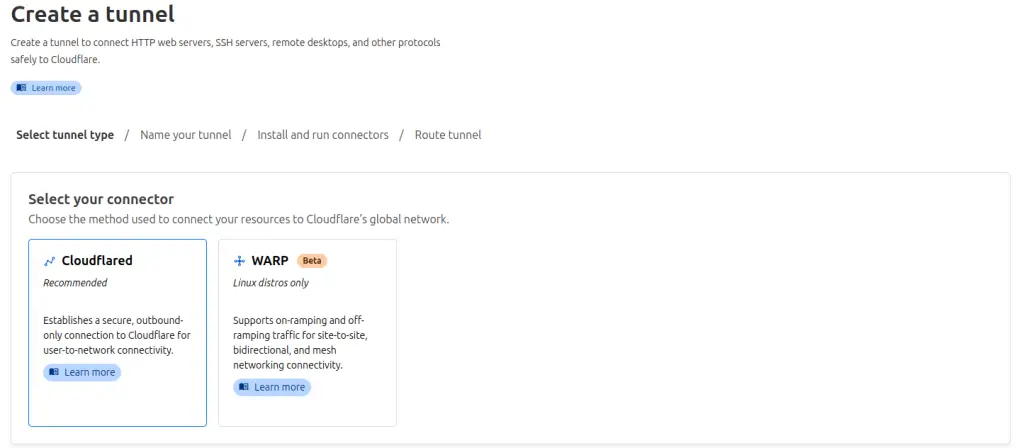
1.3 Define connector type
Select your connector type being Cloudflared
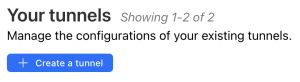
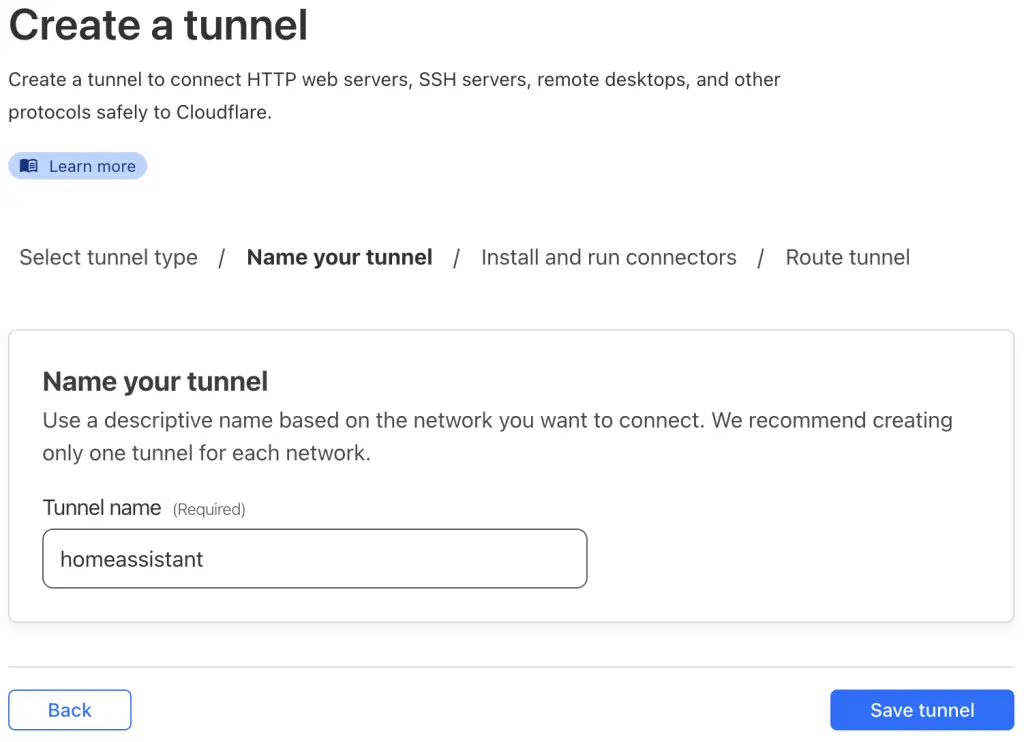
1.4 Create a tunnel
Name it (I went with ‘homeassistant’) and save your secure token – treat this like your most prized password.
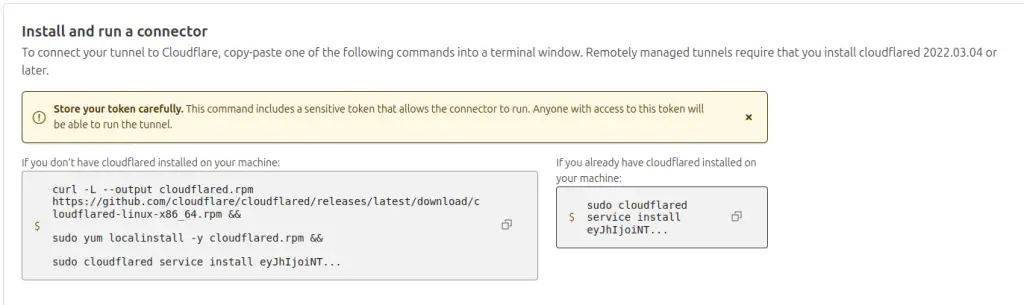
1.5 Important: Safeguarding Your Secure Token
To link your Home Assistant with the Cloudflared tunnel, you’ll need a secure token. Think of this token as a key to your digital front door. Here’s how to grab it:
- Fetch it by copying a line from the service installation commands shown below. Look for the long string after ‘install’—that’s your connector. It looks like this:
![]()
- Carefully copy this string into a text editor. This is your secure token, and it’s crucial for the setup in step 2.5. Make sure to keep it safe and treat it with the same care as a password.
1.6 Setting Your Public Hostname
Next up, you’ll set your public hostname. Here’s how:
- Head to the menu and look for the public hostname option. Since Cloudflare is handling your DNS, your domain should already be filled in. Now, just add the subdomain name you chose earlier.
Quick Tip: If you run into trouble with the ‘homeassistant.local’ not connecting, you might need to adjust the URL. Try switching to ‘localhost’ (127.0.0.1) or input the actual IP address or hostname of your Home Assistant server (something like 192.168.x.x) for a smoother setup.

1.7 Secure tunnel is up!
Your Tunnel should now be created, next we need to configure Home Assistant to allow the connection.

2. Installing Cloudflared on your Home Assistant instance
2.1 Kickstarting Cloudflared Integration
Start by adding the HA-Addons repository. You can do this manually with the provided GitHub repository link or simply click the ‘Add Repository’ button below for a quick setup and add the repository.

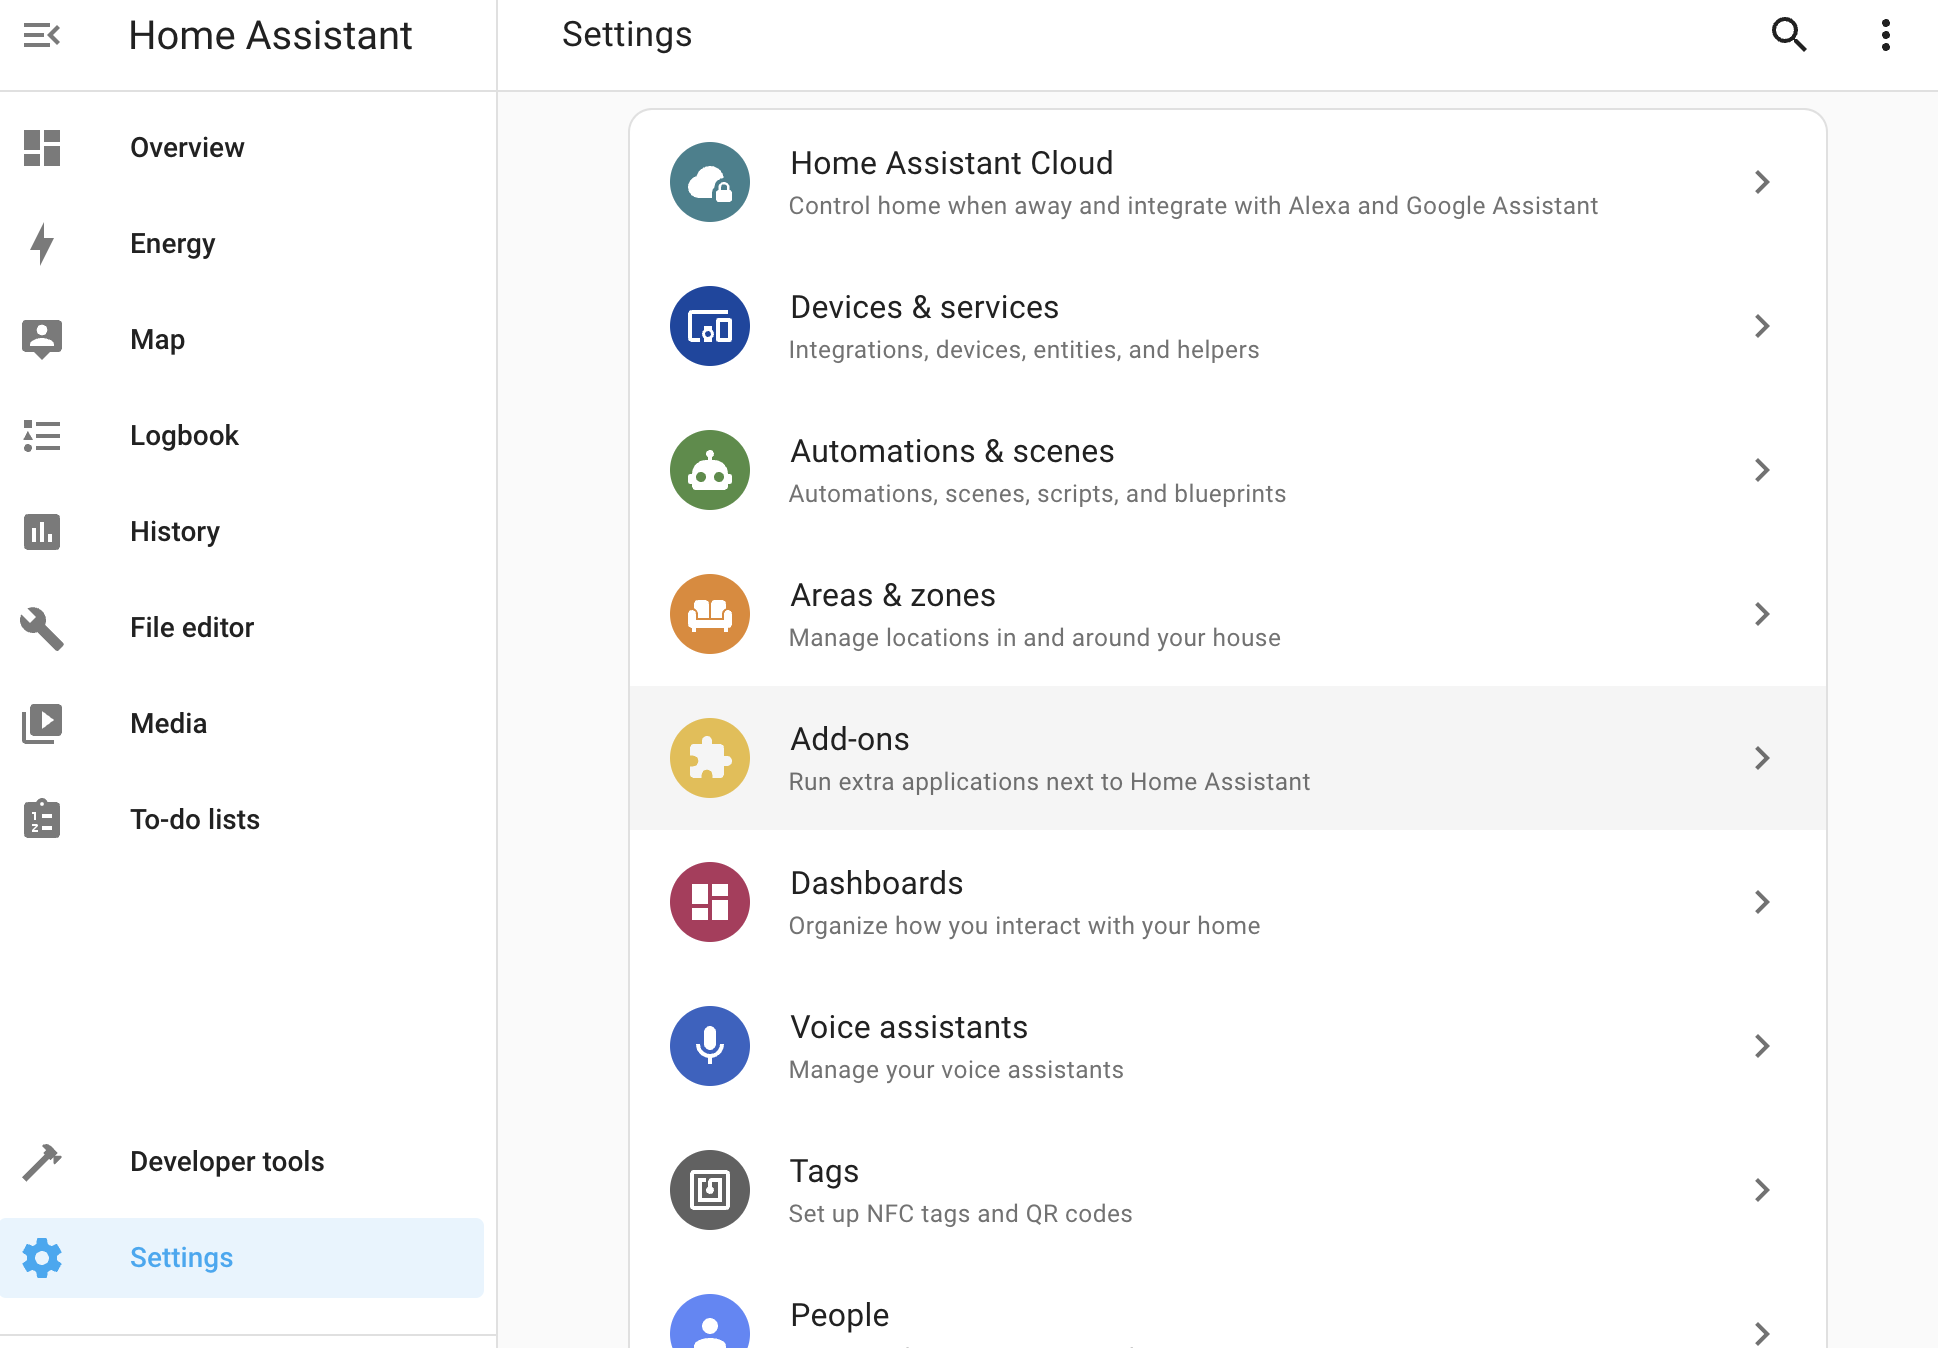
2.2 Navigating to the Add-On Store
After adding the repository, head over to your Home Assistant and go to Settings > Add-Ons, then tap on the Add-On Store.
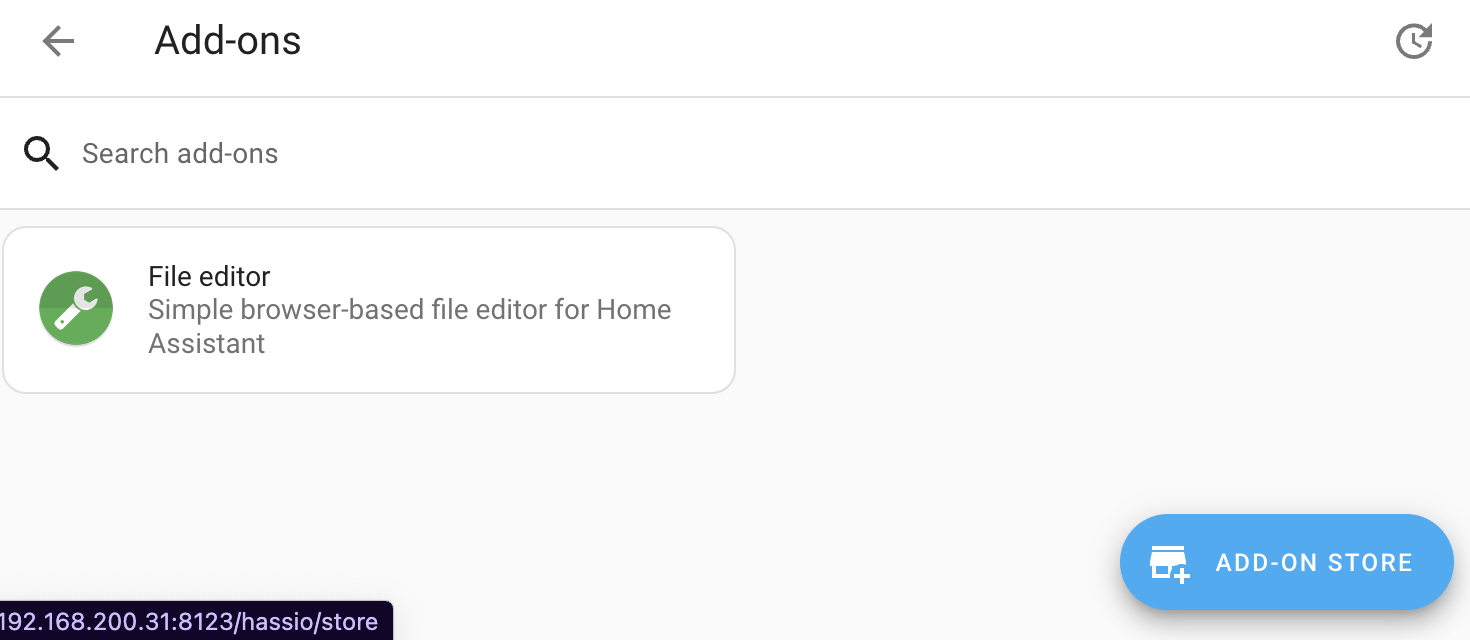
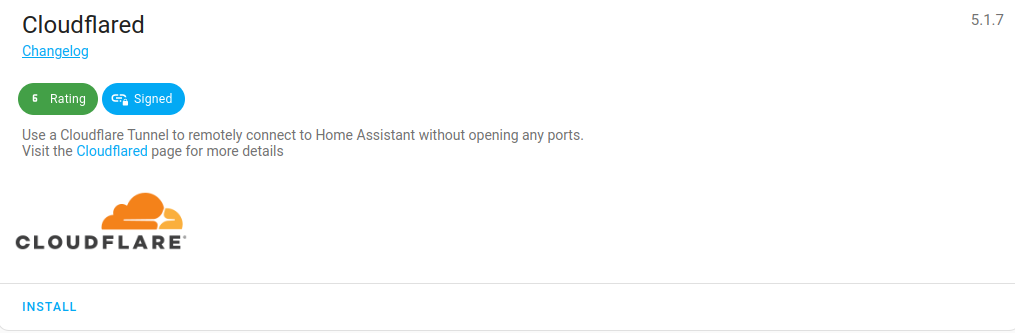
2.3 Installing Cloudflared
Simply search for ‘Cloudflared’ in the Add-On Store and hit ‘Install’.
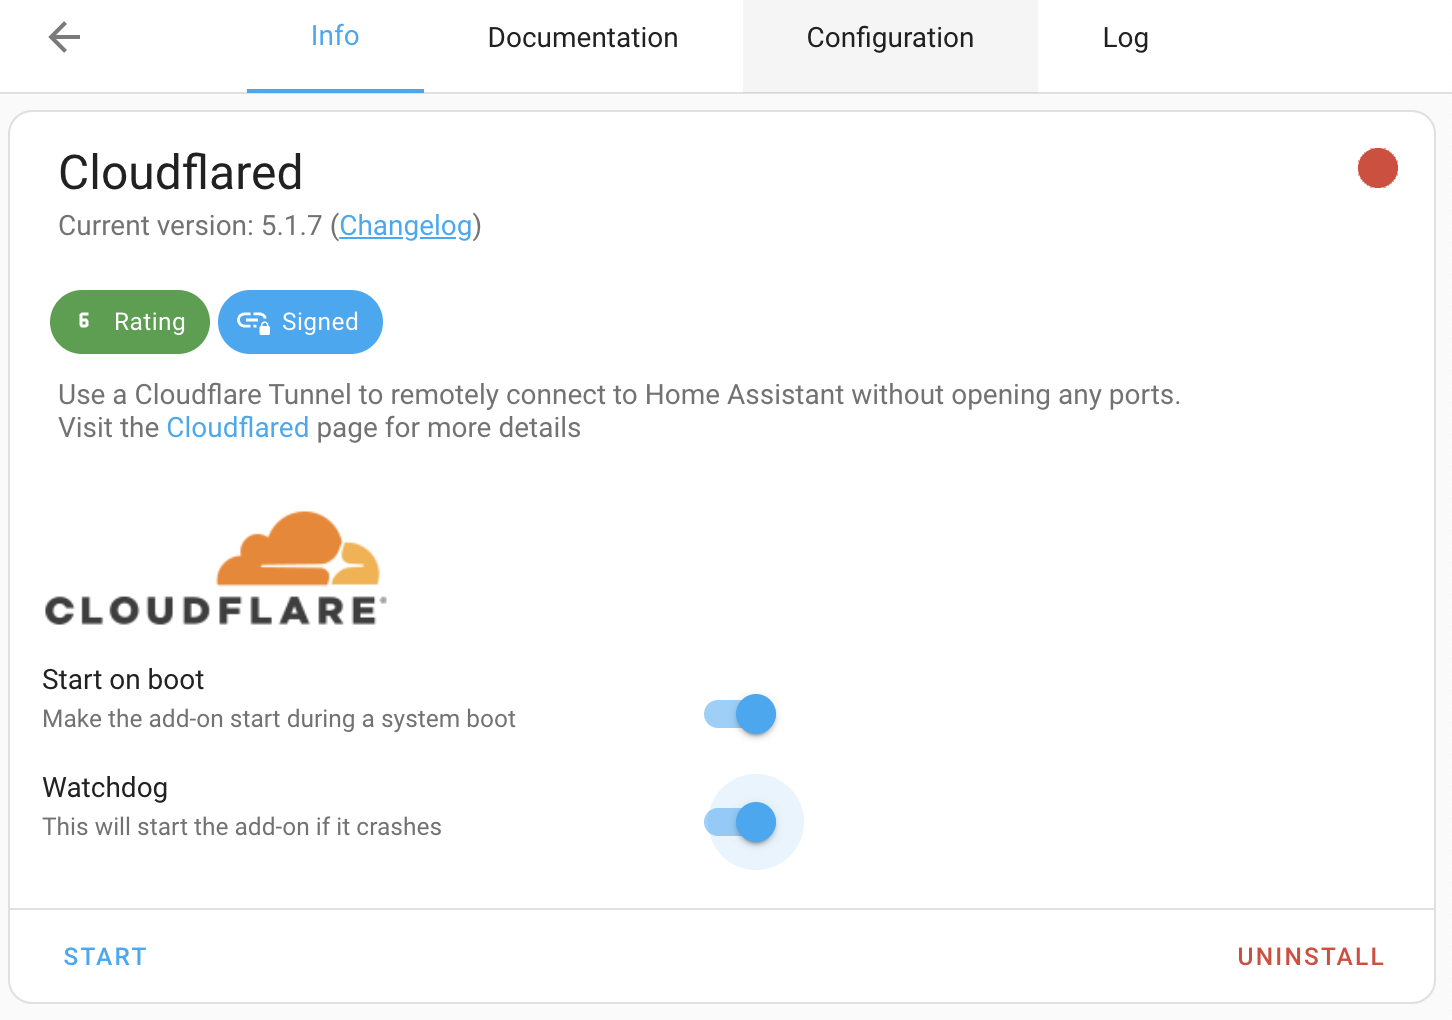
2.4 Setting Up for Reliability
Enable ‘Start on boot’ and ‘Watchdog’. Then head over to the ‘Configuration’ tab.
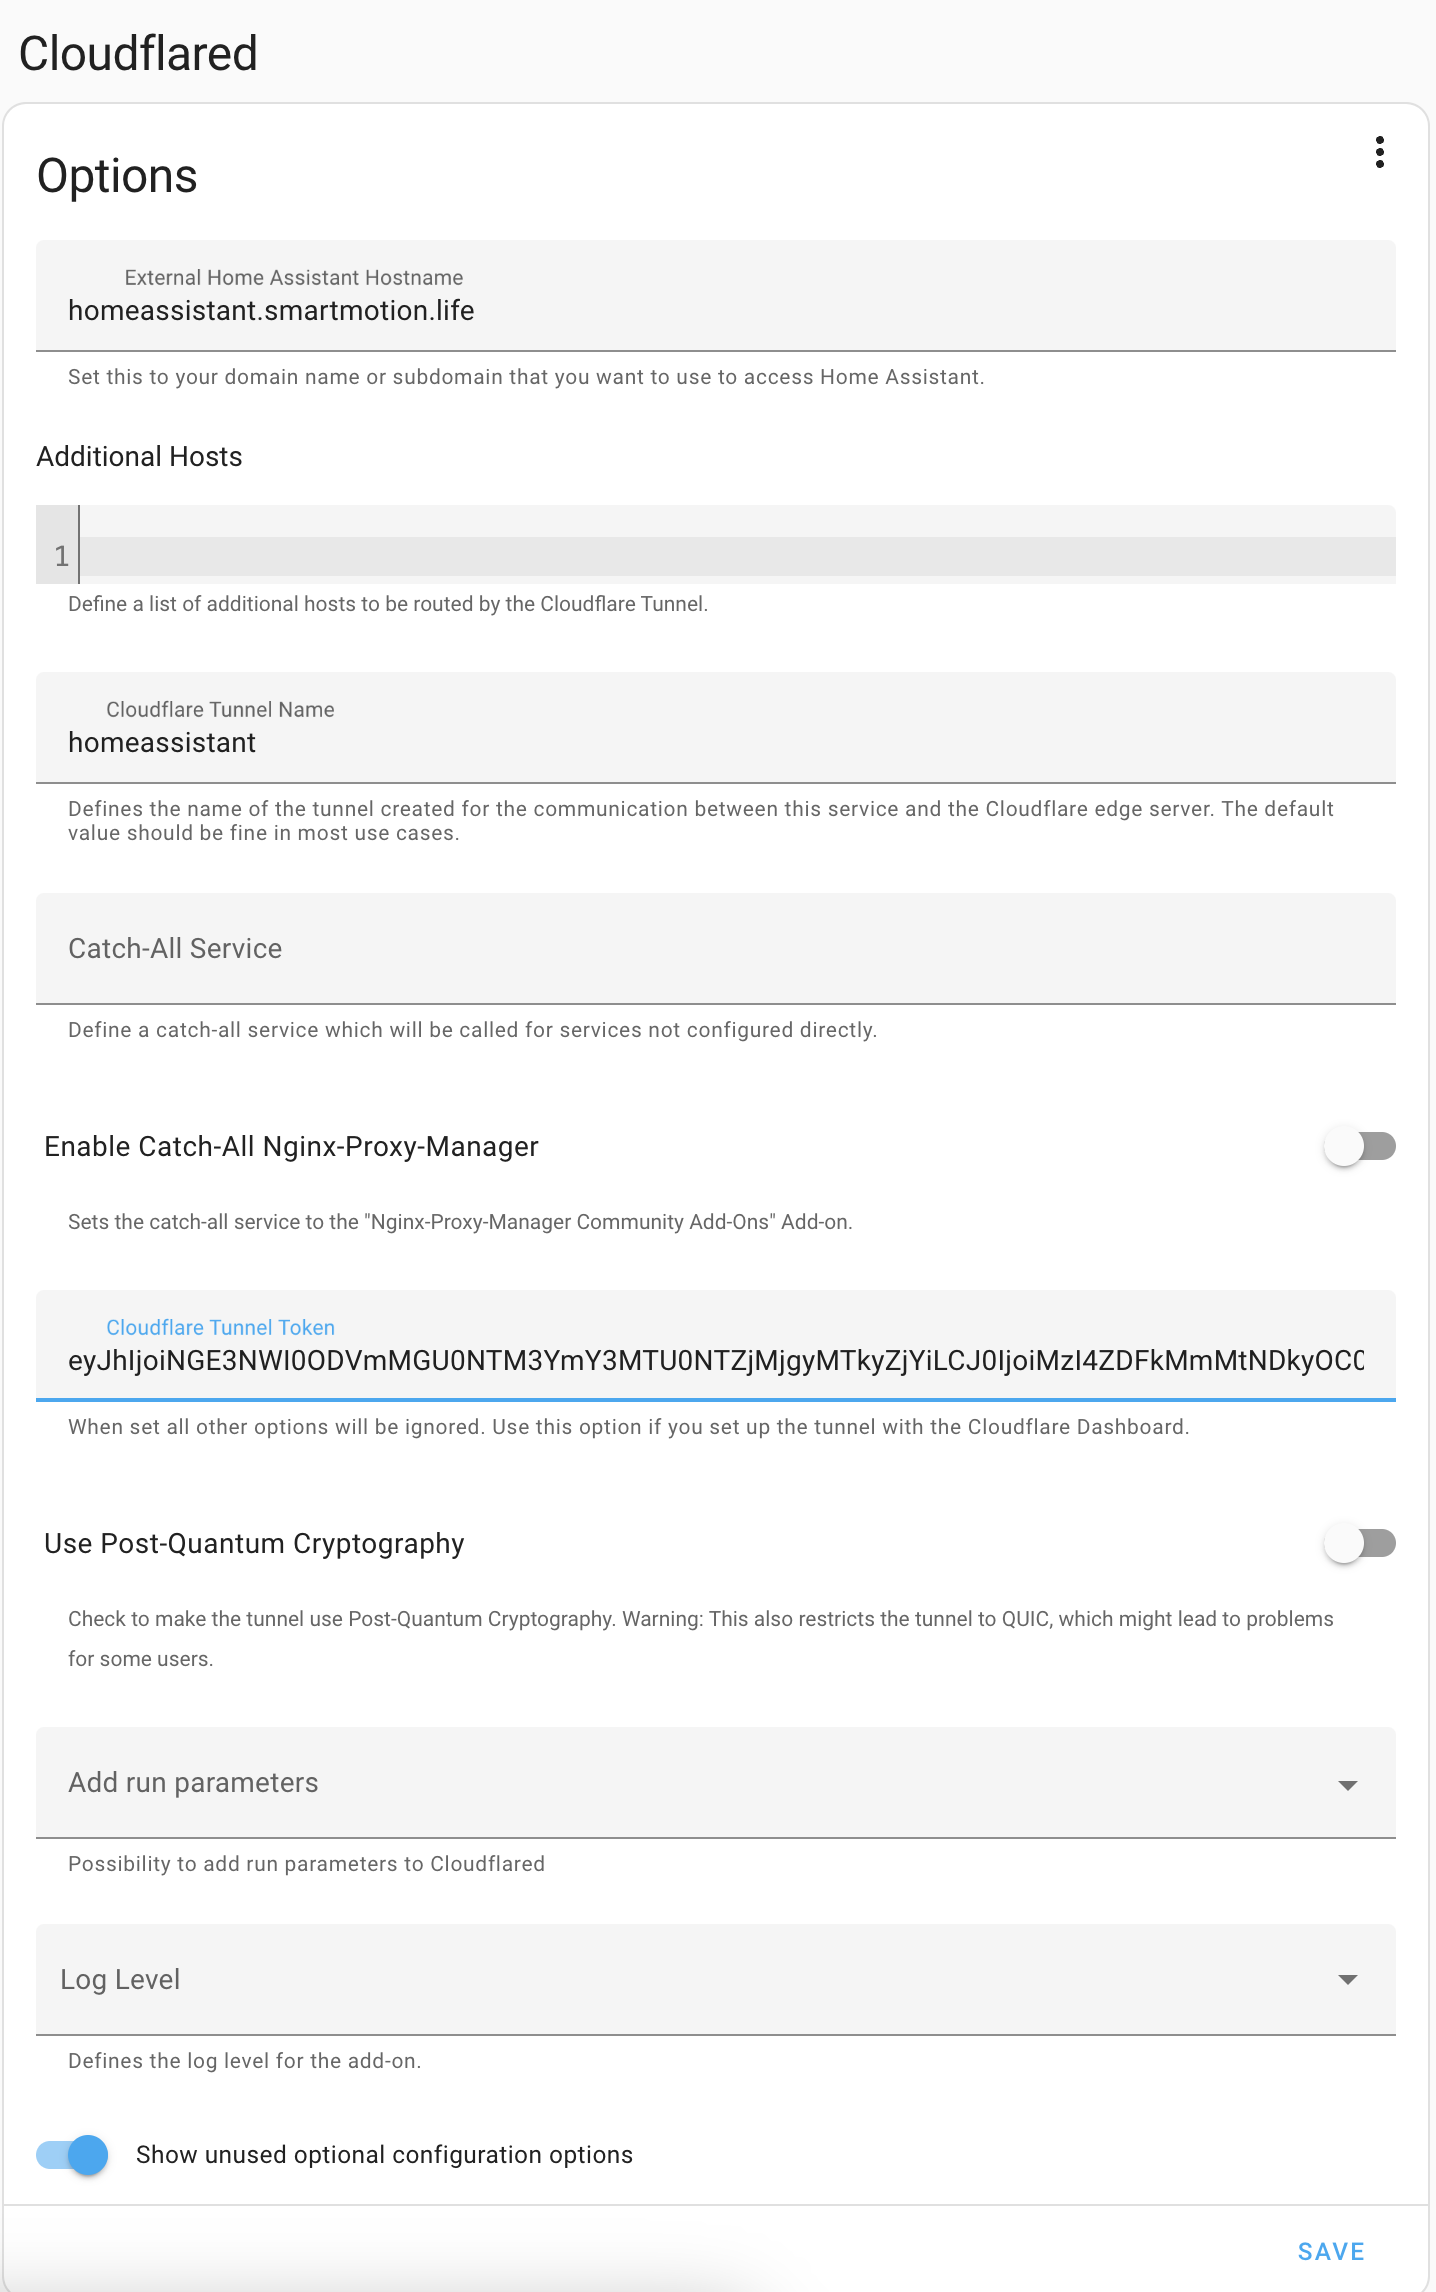
2.5 Configuring Your Connection
Enable the unused optional configuration options and populate using the secure token from 1.5 as the Cloudflare Tunnel Token.
2.6 Launching Cloudflared
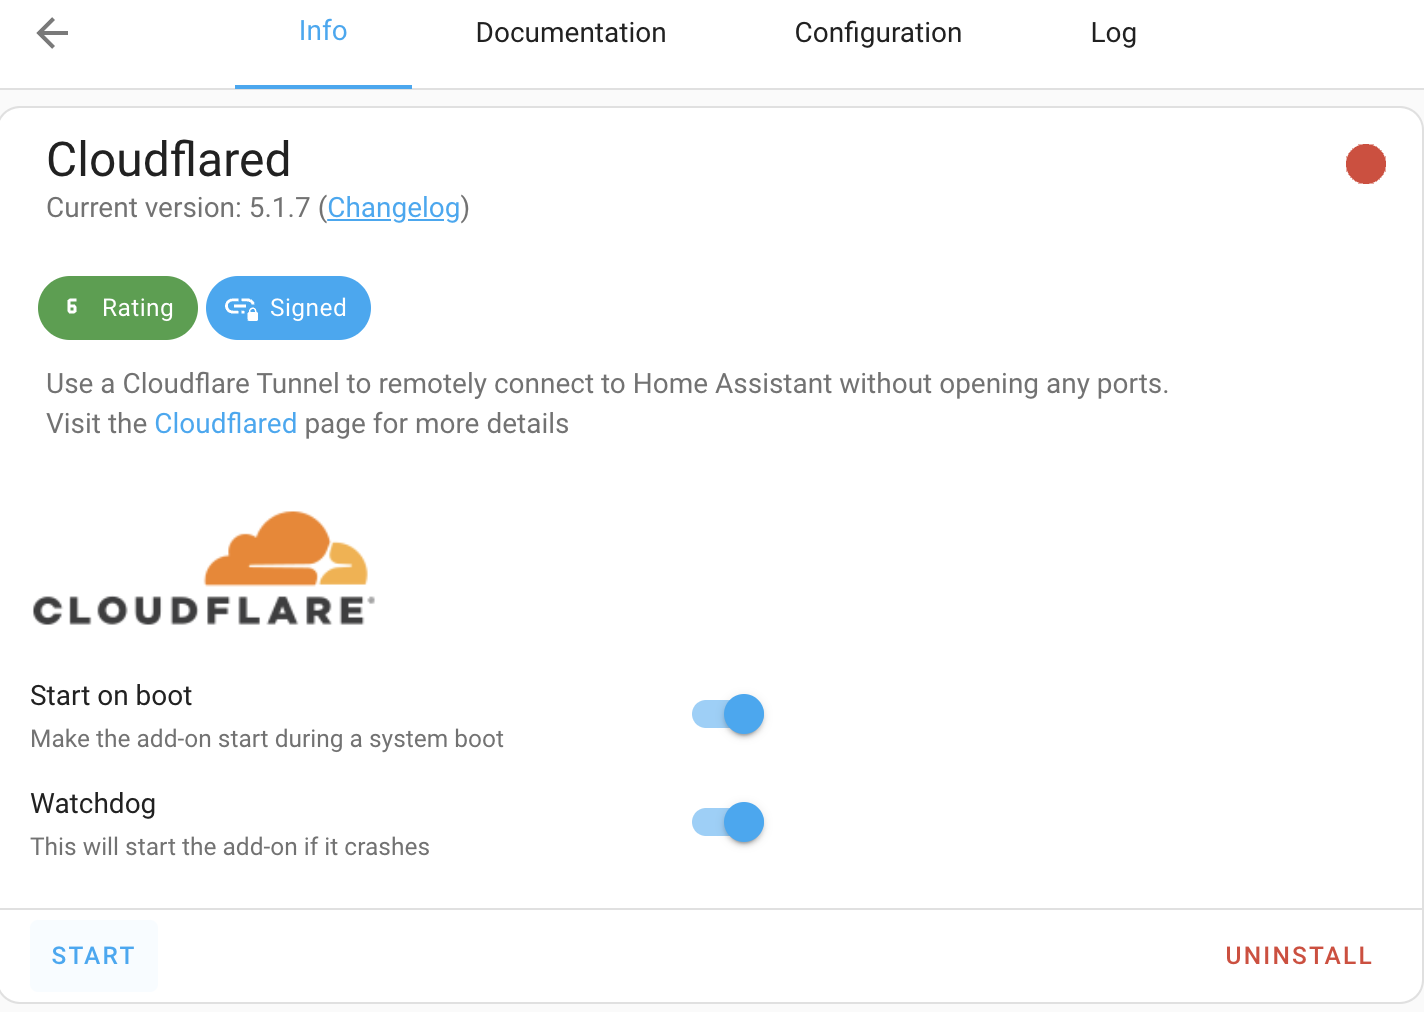
Start the service from the ‘Info’ page and use the ‘Log’ tab for debugging.
2.7 Adjusting Home Assistant Configuration
Using the Studio Code Server modify ‘configuration.yaml’ to allow trusted_proxies. After making the changes, don’t forget to restart your Home Assistant to apply them.
http:
  use_x_forwarded_for: true
  trusted_proxies:
    - 172.30.33.0/24
    - 172.16.0.0/12
2.8 Accessing Your Home Assistant Remotely
After restarting Home Assistant, head to your external web address to check out your setup in action. For instance, you might go to https://homeassistant.yourdomain.com.
2.9 Multi-factor Authentication
To enhance security, we strongly advise enabling multi-factor authentication, especially now that your service is accessible on the internet.
3. Optionally tightening application access security
Congratulations on setting up your Home Assistant for secure remote access! Now, let’s consider if you want it accessible from anywhere globally. Typically, you’ll use it within your home country, so it makes sense to limit access geographically for an extra layer of security.
3.1 Access Control Setup
Head to Access -> Applications from the main menu.

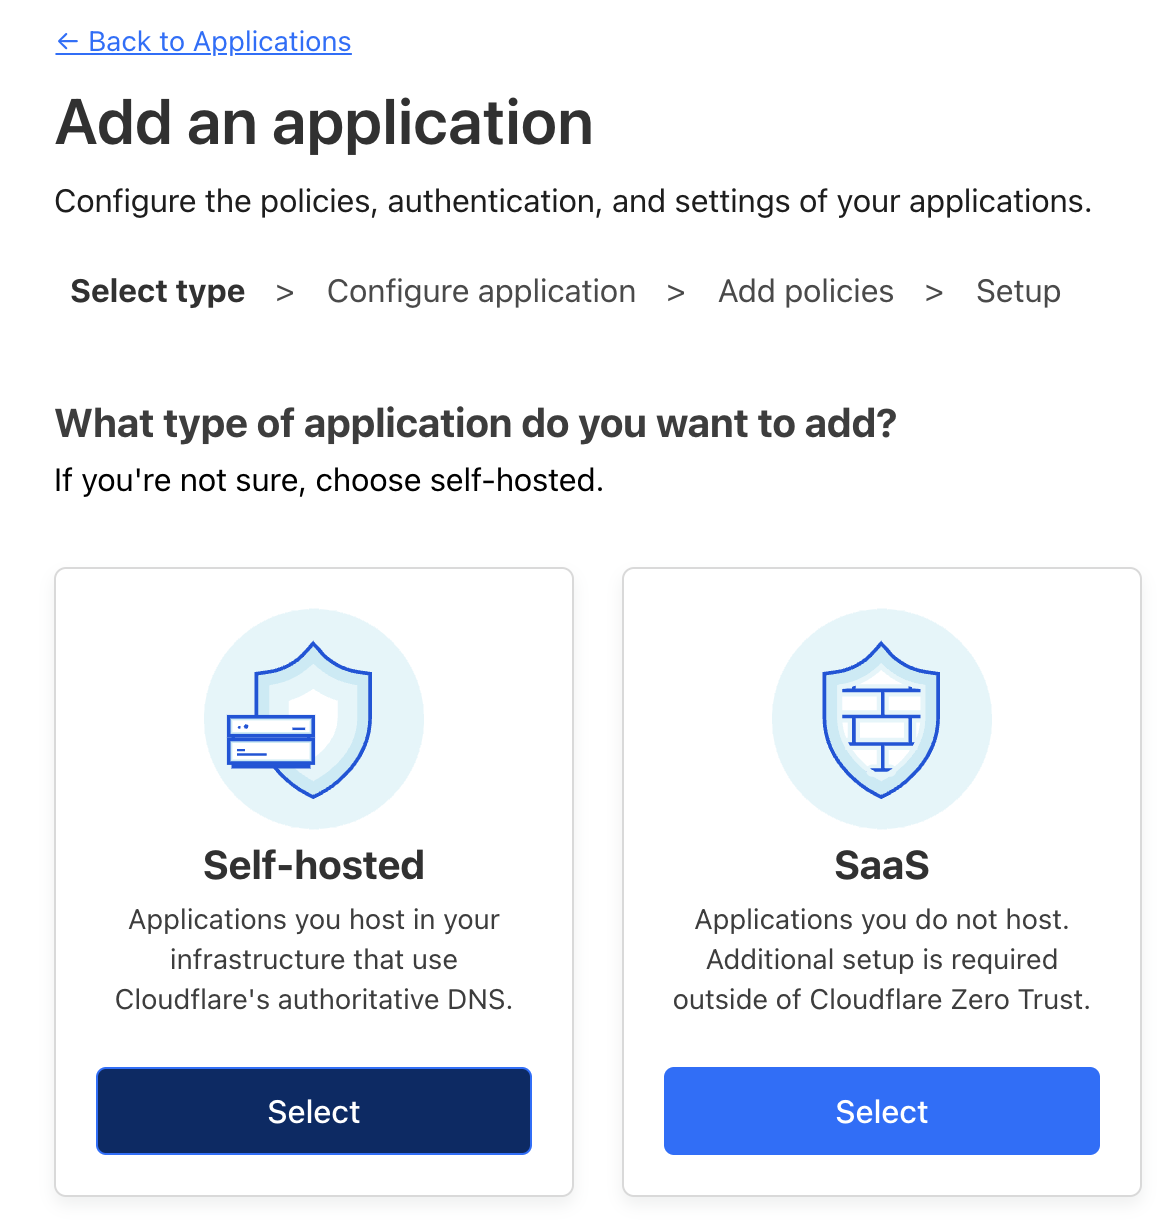
3.2 Add an application

3.3 Opt for Self-hosted
Select the ‘Self-hosted’ option.
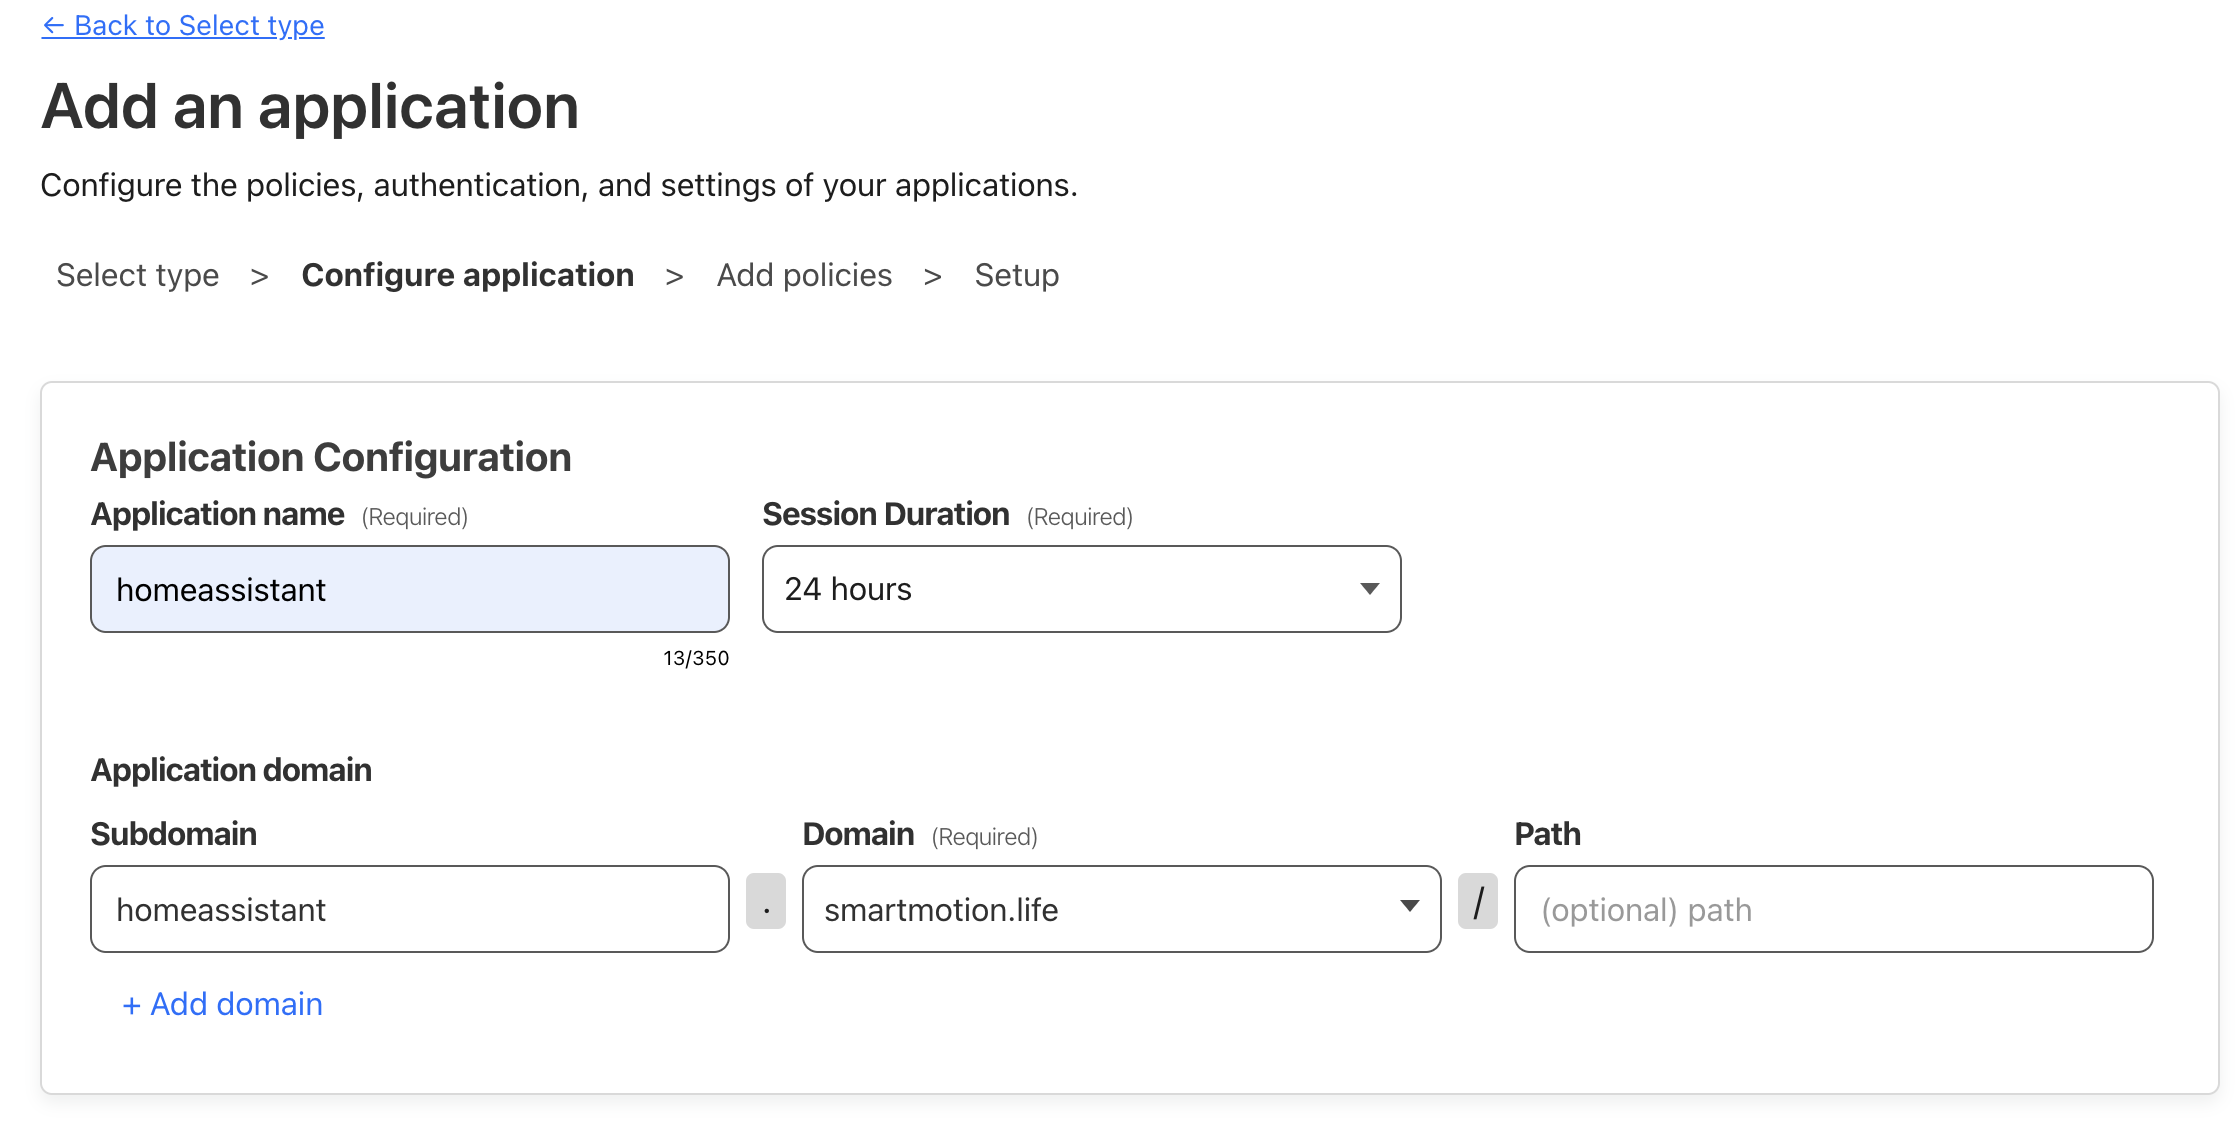
3.4 Application Configuration
Complete the application configuration form, keeping default settings for the unspecified options.
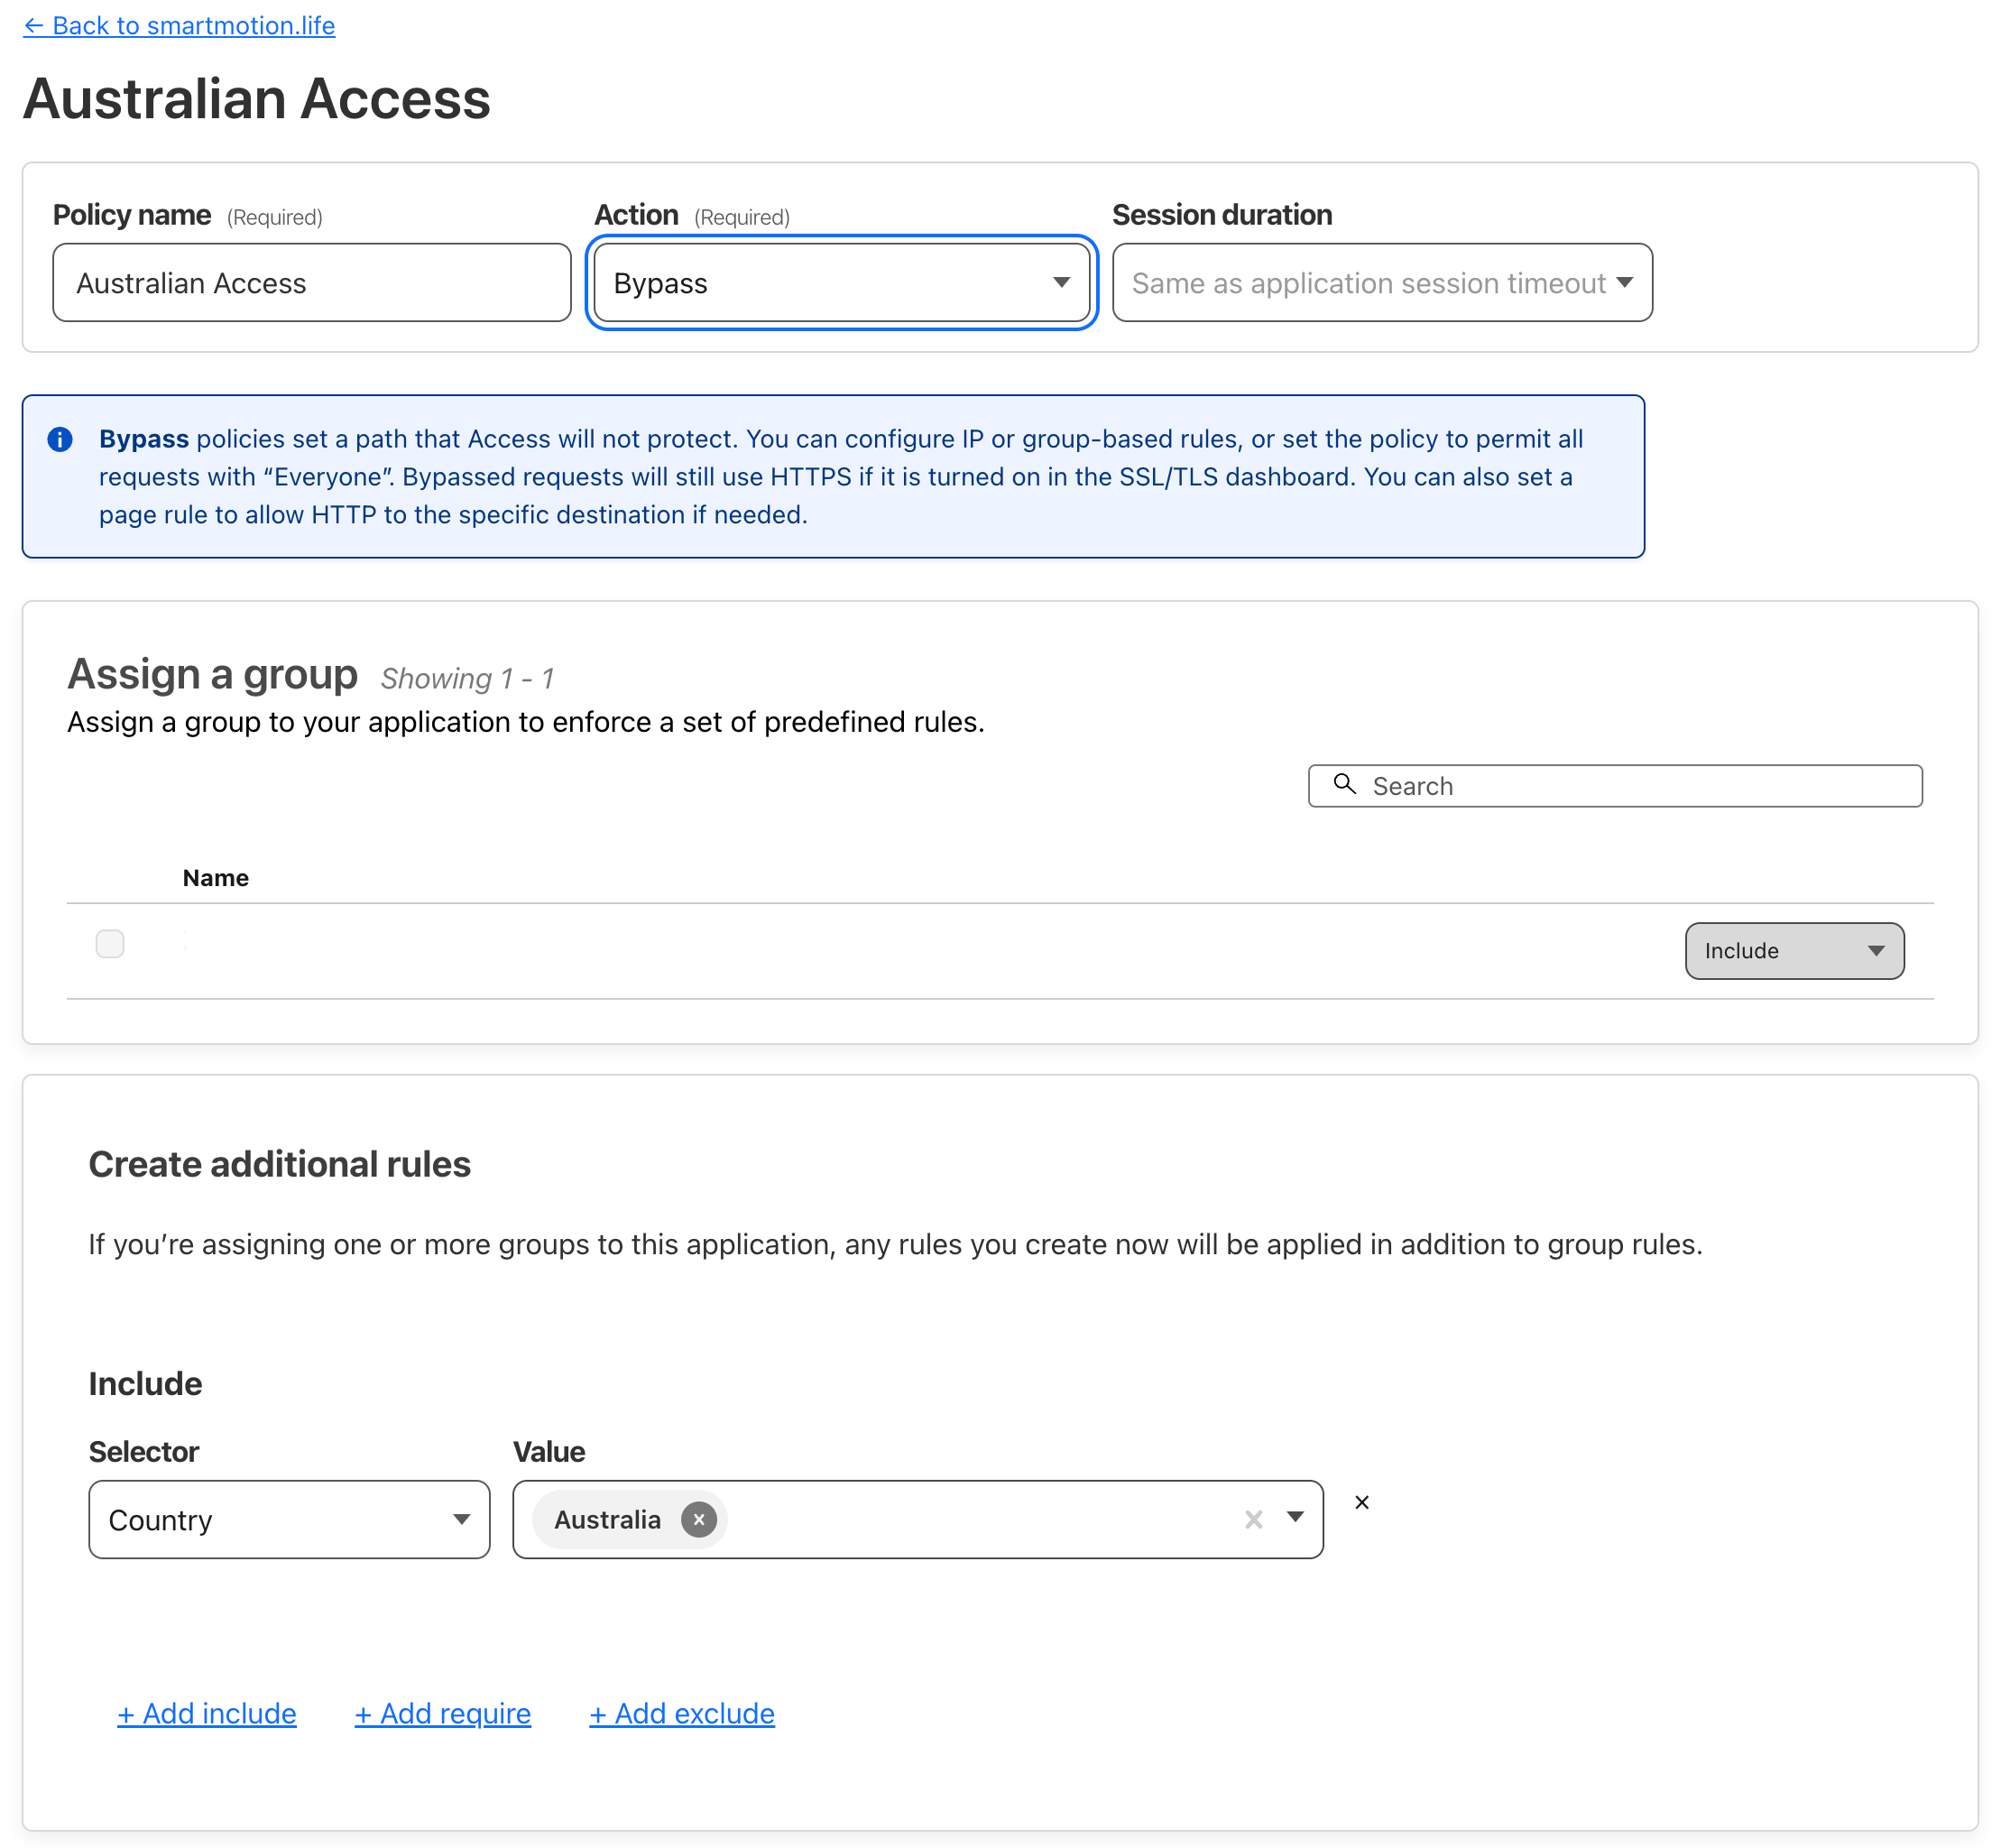
3.5 Setting Access Restrictions
Name your policy and set up rules tailored to your needs. For example, I’m limiting access to just Australia with a ‘Bypass’ action. This setup allows seamless access from within Australia without needing Cloudflare authentication challenges.
3.6 Finalising Setup
Keep the setup page on its default settings to conclude.

Congratulations! You’ve now enhanced the security and accessibility of your Home Assistant instance using Cloudflare’s Zero Trust. This setup not only fortifies your smart home against external threats but also ensures that you can enjoy the conveniences of home automation from anywhere in the world. Have questions or feedback for Home Assistant with Cloudflare Zero Trust? Feel free to share your thoughts or ask for help in the comments below.